Step-by-Step: Making SSH Keys for UniFi Devices
While passwords offer basic security, SSH keys provide a significantly stronger method for accessing your UniFi devices. Learn how to generate these essential keys and integrate them into your UniFi Controller for enhanced network protection.

When you adopt a new UniFi device, you usually do so via the set-inform command. Once adopted, a username and a randomly generated password are created and pushed to the device for SSH connections. By default, this relies on a username and password combination. However, using SSH keys is a much more secure method. In this article, we'll explain how to create an SSH key and implement it within your UniFi environment.
Choosing Your SSH Key Type: RSA vs. Ed25519
UniFi allows you to use two types of SSH keys: RSA and Ed25519 keys.
- RSA: This is one of the oldest and most widely used encryption algorithms, making it very broadly supported. Given its age, it's advisable to use keys of at least 4096 bits for strong security.
- Ed25519: This is a newer encryption algorithm that is equally secure, but significantly faster and much more compact. Most modern SSH clients support this key type. You might only encounter a lack of support on older servers or legacy network equipment. Generally, Ed25519 is the recommended choice for its efficiency and strong security. UniFi devices fully support this key type. Therefore, in this article, we'll use an Ed25519 SSH key as our example.
Creating an SSH Key
On Linux
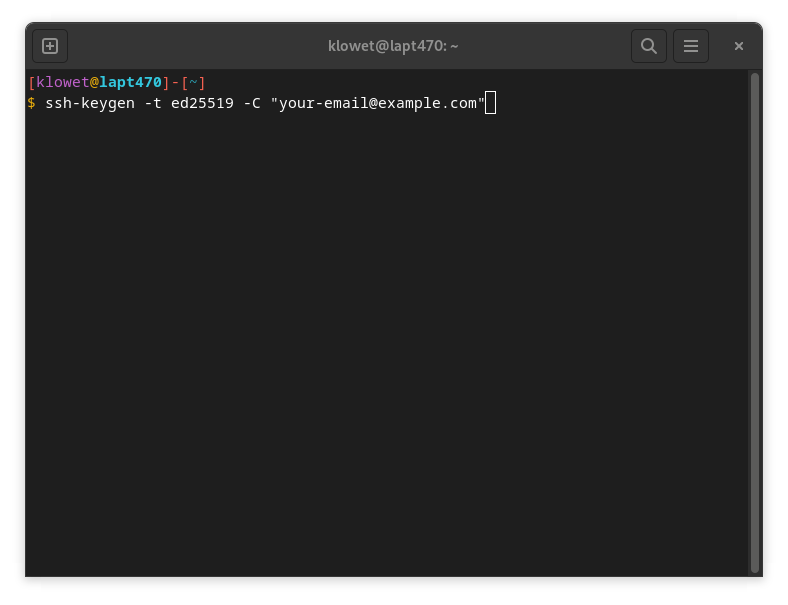
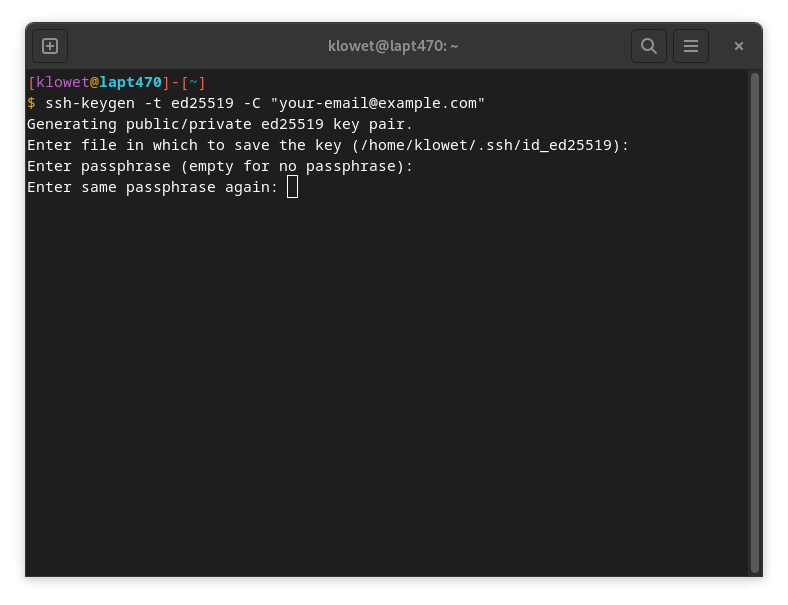
- Open a terminal and execute the following command:
ssh-keygen -t ed25519 -C "your-email@example.com"
(Replace"your-email@example.com"with your actual email address, as this is used for identification.)
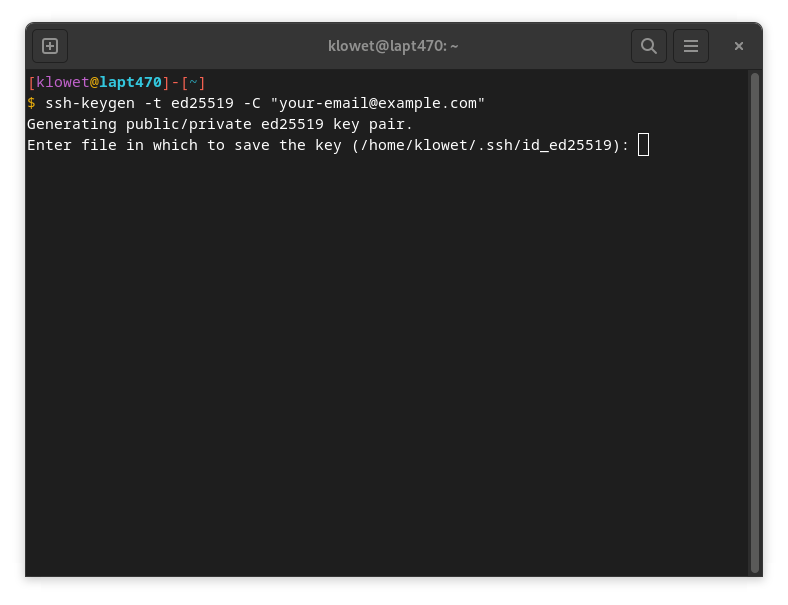
- You'll be asked under what name you want to save the key. You can confirm by pressing Enter to use the default name (
id_ed25519), or choose a different name. For this example, we'll stick with the default.
- When prompted for a passphrase, you have two options:
- No passphrase: Press Enter twice. This means no password will be required when using the key.
- With passphrase: Enter a passphrase twice. This passphrase will be required every time you use the SSH key to connect. We strongly recommend using a strong passphrase for added security.
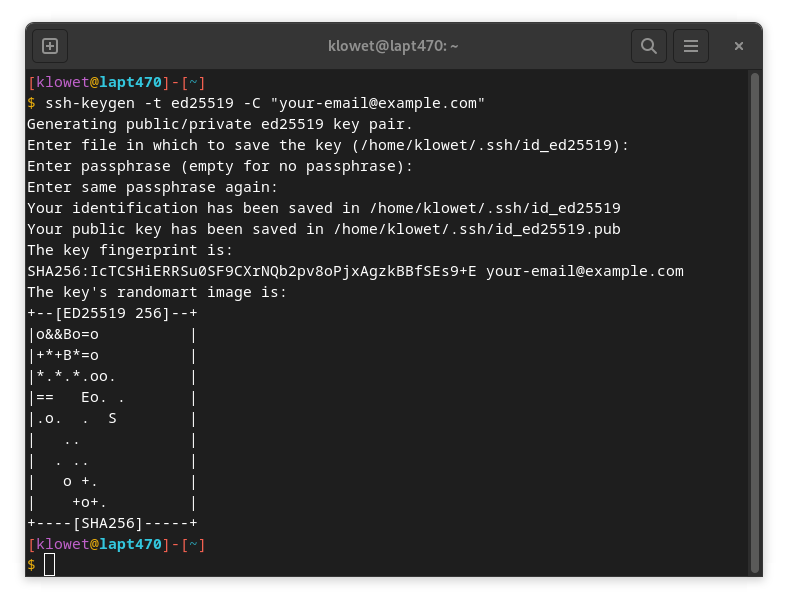
- The terminal will display a 'fingerprint' once the key has been successfully generated.
On Windows
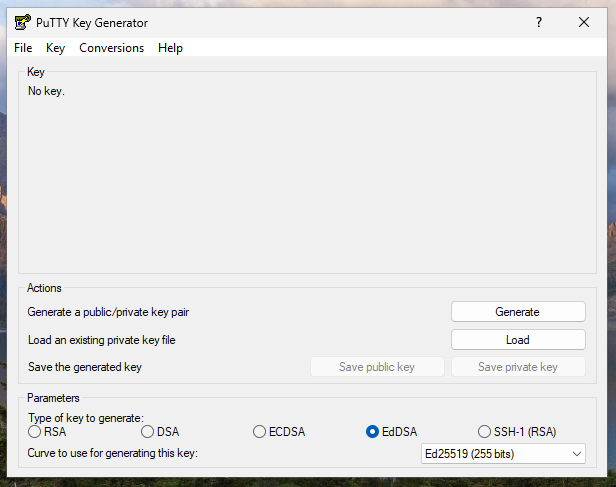
On Windows, we'll use PuTTYgen. This program is typically installed by default when you download and install PuTTY. Search for "PuTTYgen" in your Windows Start menu and launch it.
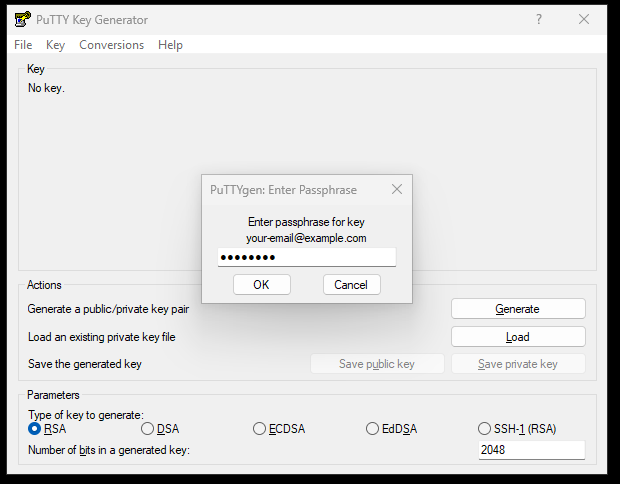
- At the bottom of the PuTTYgen window, select 'EdDSA' for the type of key to generate. For the 'Curve', choose 'Ed25519 (255 bits)'.
- Click the 'Generate' button. You'll be prompted to move your mouse cursor randomly over the blank area to generate randomness for the key.
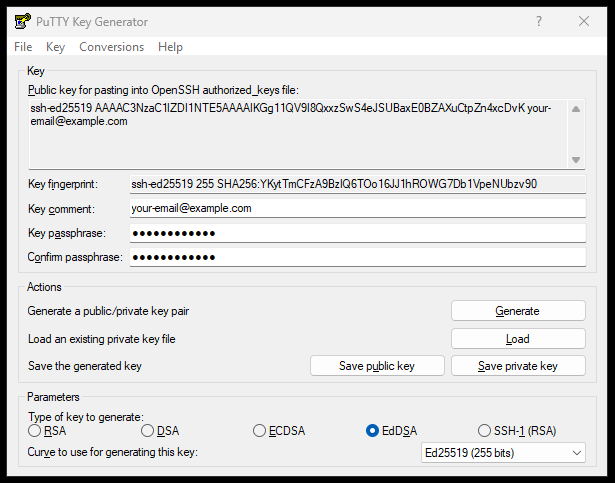
- Once the SSH key is generated, you'll see the public key displayed at the top. In the "Key comment" field, it's best practice to enter your email address for identification.
- In the 'Key passphrase' and 'Confirm passphrase' fields, enter a strong password. We strongly recommend using a passphrase. This adds an extra layer of security, requiring a password to use your private key.
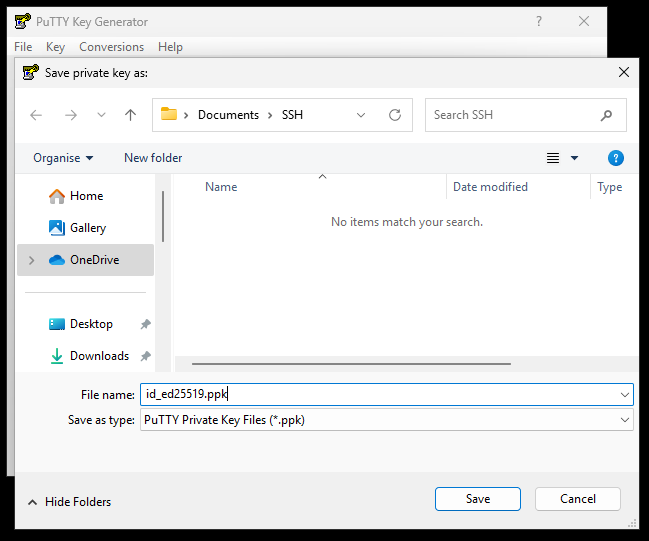
- Click 'Save private key'.
- For the 'File name', provide a clear name for your private key. In this example, we'll use
'id_ed25519.ppk'. Crucially, save your SSH keys within your own user folder (e.g.,C:\Users\YourUsername\.ssh\) and not in a location accessible to all users of the computer. This ensures your private key remains secure.
Importing Your SSH Key into UniFi
After generating your SSH key, you'll have two parts: the private key (saved to your computer) and the public key. On Linux, these are separate files. With PuTTYgen on Windows, the public key is displayed at the top of the PuTTYgen window immediately after generation.
- Private Key: This file is your secret. Never share it or expose it publicly. For Linux, it's typically
id_ed25519. For Windows, it's the.ppkfile you saved (e.g.,id_ed25519.ppk). - Public Key: This is the key you'll share with servers and devices (like your UniFi equipment). It's safe to make this public.
You need the content of your public key.
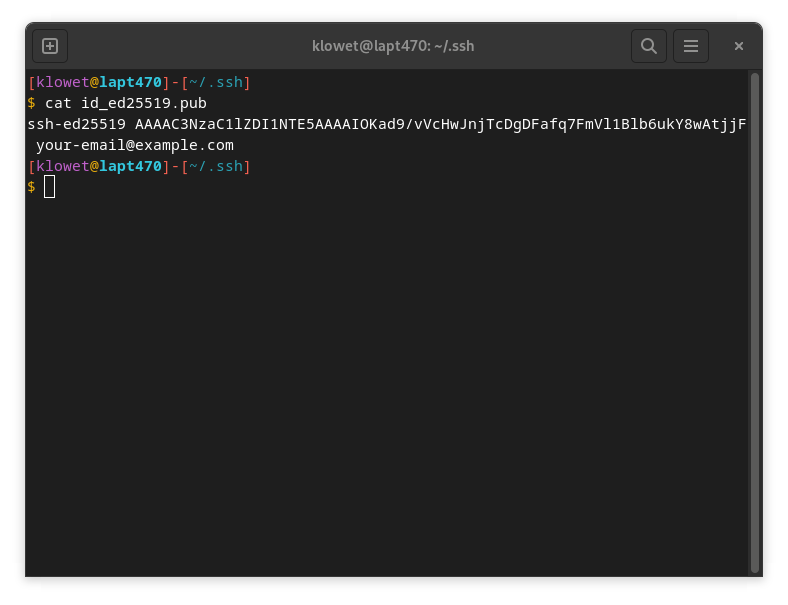
- On Linux: Run
cat ~/.ssh/id_ed25519.pubin your terminal and copy the entire output.
- On Windows (PuTTYgen):
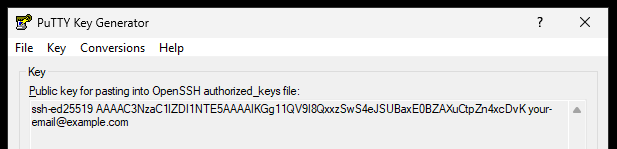
- If you still have PuTTYgen open from key generation, the public key is in the large text box at the top (starts with
ssh-ed25519 AAAA...and ends with your comment). Copy this entire text.
- If you closed PuTTYgen and need to retrieve your public key, open PuTTYgen. Click 'File' > 'Load private key' and select your private SSH key file (e.g.,
id_ed25519.ppk). Enter your passphrase if prompted, and click 'OK'. Your public key will then appear in the top text box, ready for you to copy.
Now, let's add it to your UniFi Controller:
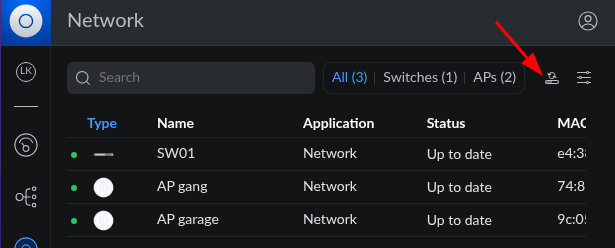
- Log in to your UniFi Controller and select the desired Site.
- Navigate to 'Devices', then click 'Device Updates and Settings' (in the top right).
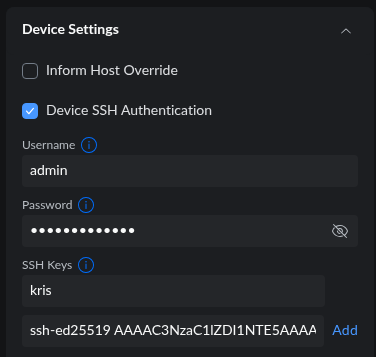
- Scroll down to the 'Device Settings' section.
- Under 'SSH Keys':
- Provide a 'Name' for your key (e.g., "Your-name SSH Key"). This helps you identify it in UniFi.
- Paste the entire content of your public key into the second field.
- Click 'Add'.
Your public SSH key will now be securely pushed to all UniFi devices within this site. Also, take note of the 'Username' displayed in this section (e.g., 'admin'). You'll need this username for SSH login.
Managing Multiple SSH Keys and Revocation
The process described above can be repeated to add additional SSH keys to your UniFi Controller. This is particularly useful if multiple administrators or IT personnel need secure access to your UniFi devices. Simply generate a new key for each individual and add their public key in the same manner.
It's crucial to understand that private SSH keys should never be shared between colleagues. Each person should generate and use their own unique SSH key pair. Sharing private keys compromises security, as it makes it impossible to track individual actions and difficult to revoke access precisely.
For security purposes, it's crucial to revoke SSH keys when they are no longer needed, for example, when a colleague leaves the company. To do this, simply return to the 'Device Updates and Settings' section in your UniFi Controller, find the specific SSH key you wish to revoke, and delete it from the list. This will remove the key from all UniFi devices within that site, immediately revoking access for anyone holding the corresponding private key.
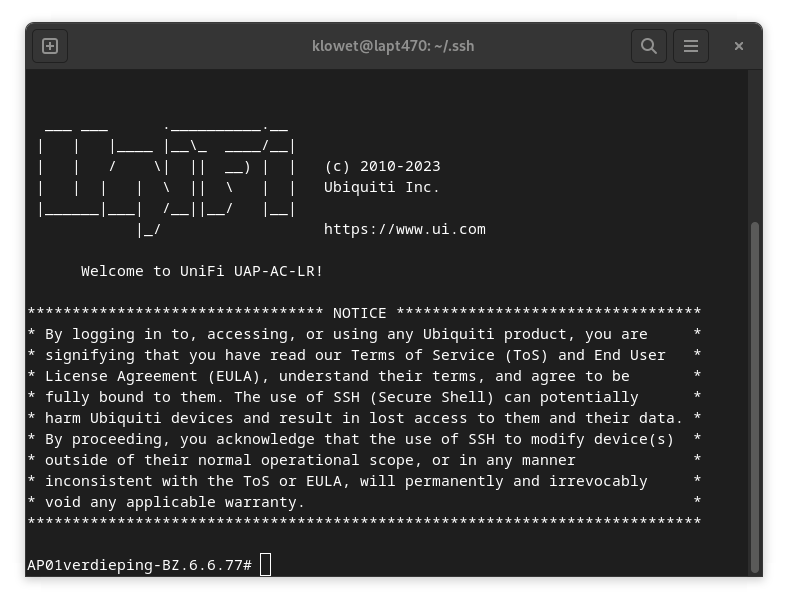
Logging In to UniFi Devices via SSH with Your Key
To establish an SSH connection, you'll need the IP address (or hostname) of the UniFi device. You can find this in your UniFi Devices overview. You'll also need the 'Username' that you noted from 'Device Updates and Settings'.
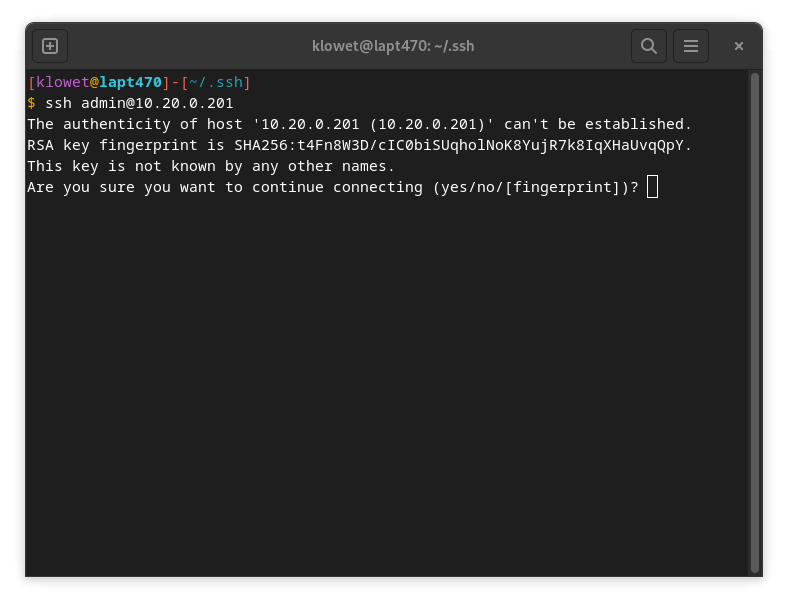
In this example, we'll make an SSH connection to an Access Point with the IP address 10.20.0.201:
ssh admin@10.20.0.201
The first time you connect via SSH, your computer won't recognize the 'key fingerprint' of the remote device (in this case, the Access Point) and will ask for confirmation. Type 'yes' and press Enter to proceed.
On Windows using PuTTY:
- Open PuTTY.
- Enter
admin@followed by the device's IP address or hostname in the 'Host Name (or IP address)' field (e.g.,admin@10.20.0.201). - Go to Connection > SSH > Auth in the left-hand category tree.
- Click 'Browse...' and navigate to your saved private key file (e.g.,
id_ed25519.ppk). - Click 'Open' to start the session.
- If you set a passphrase for your key, you'll be prompted to enter it.
Congratulations! You're now logged in securely to your UniFi device using an SSH key!